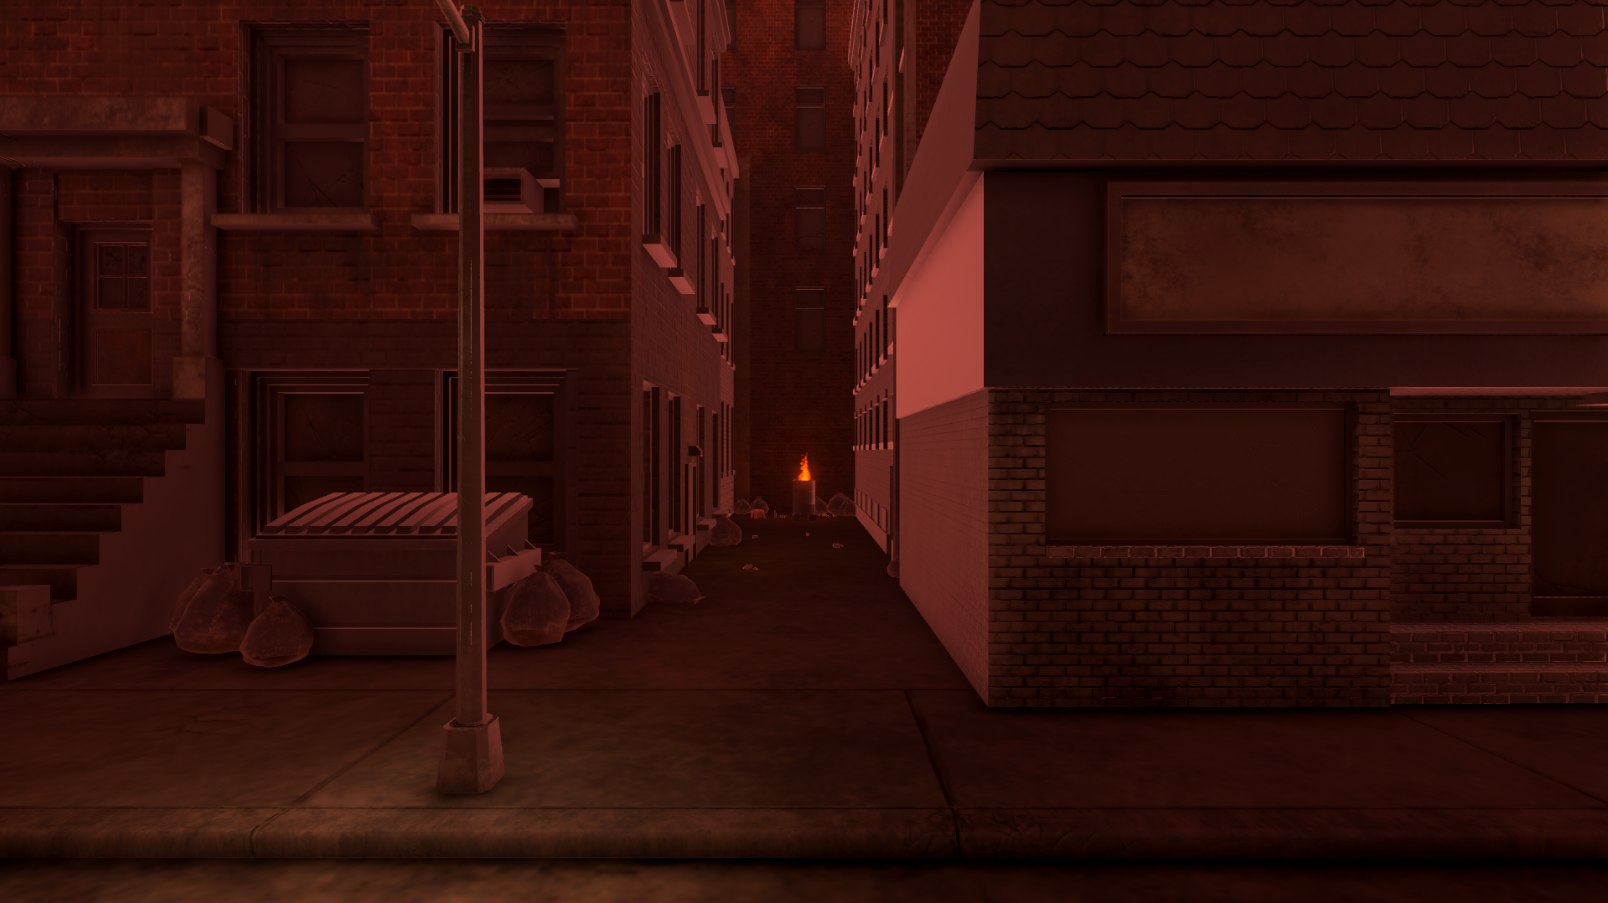
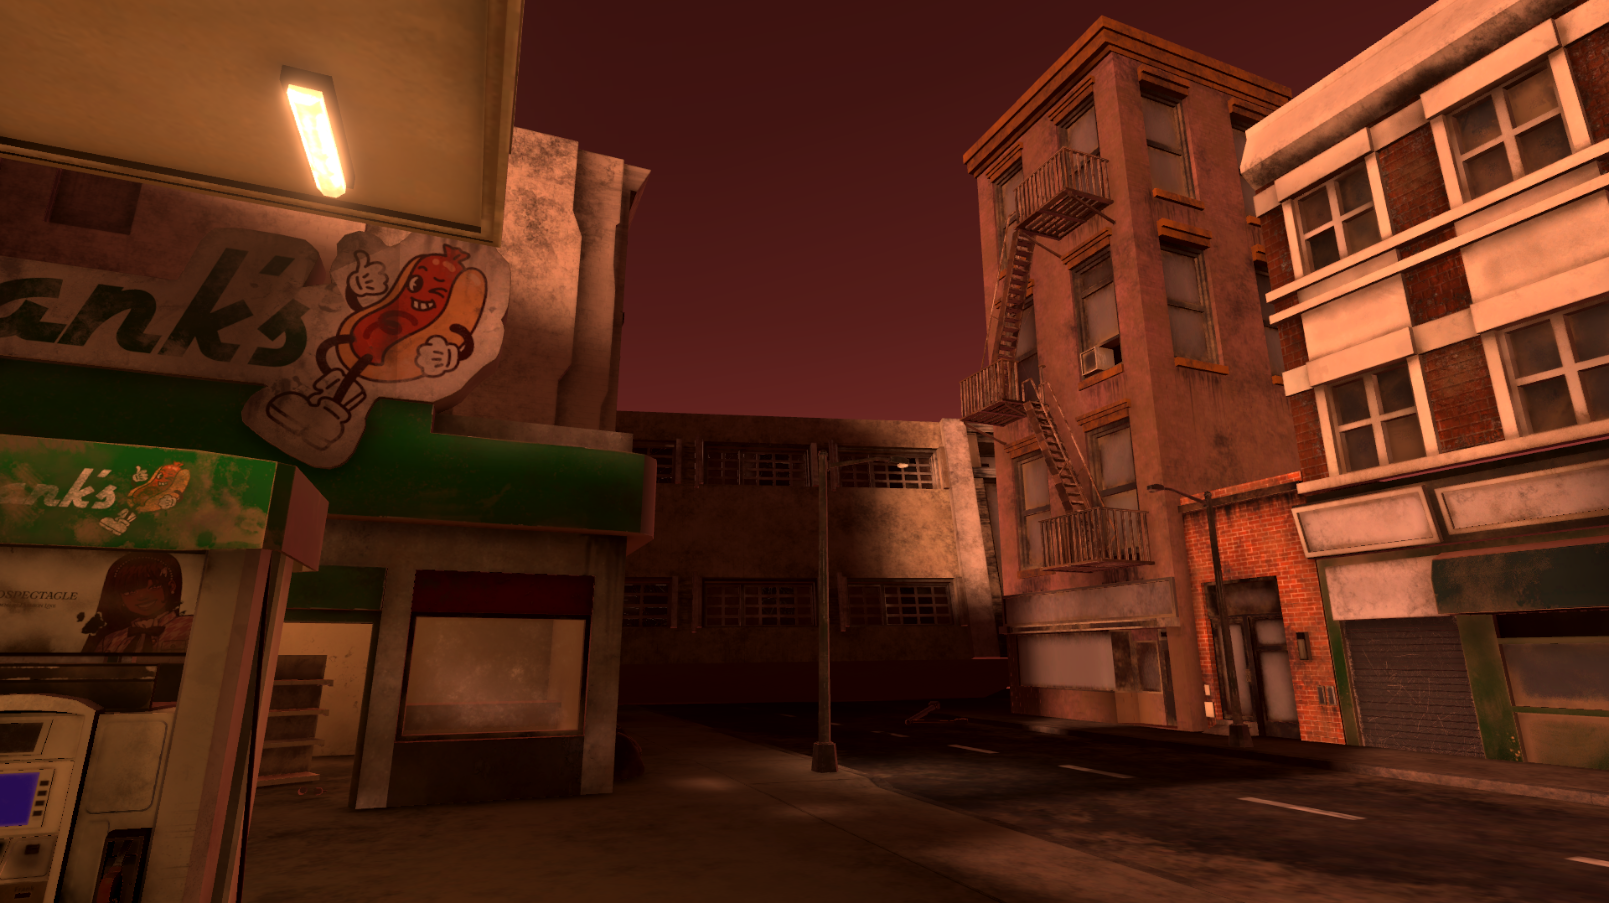
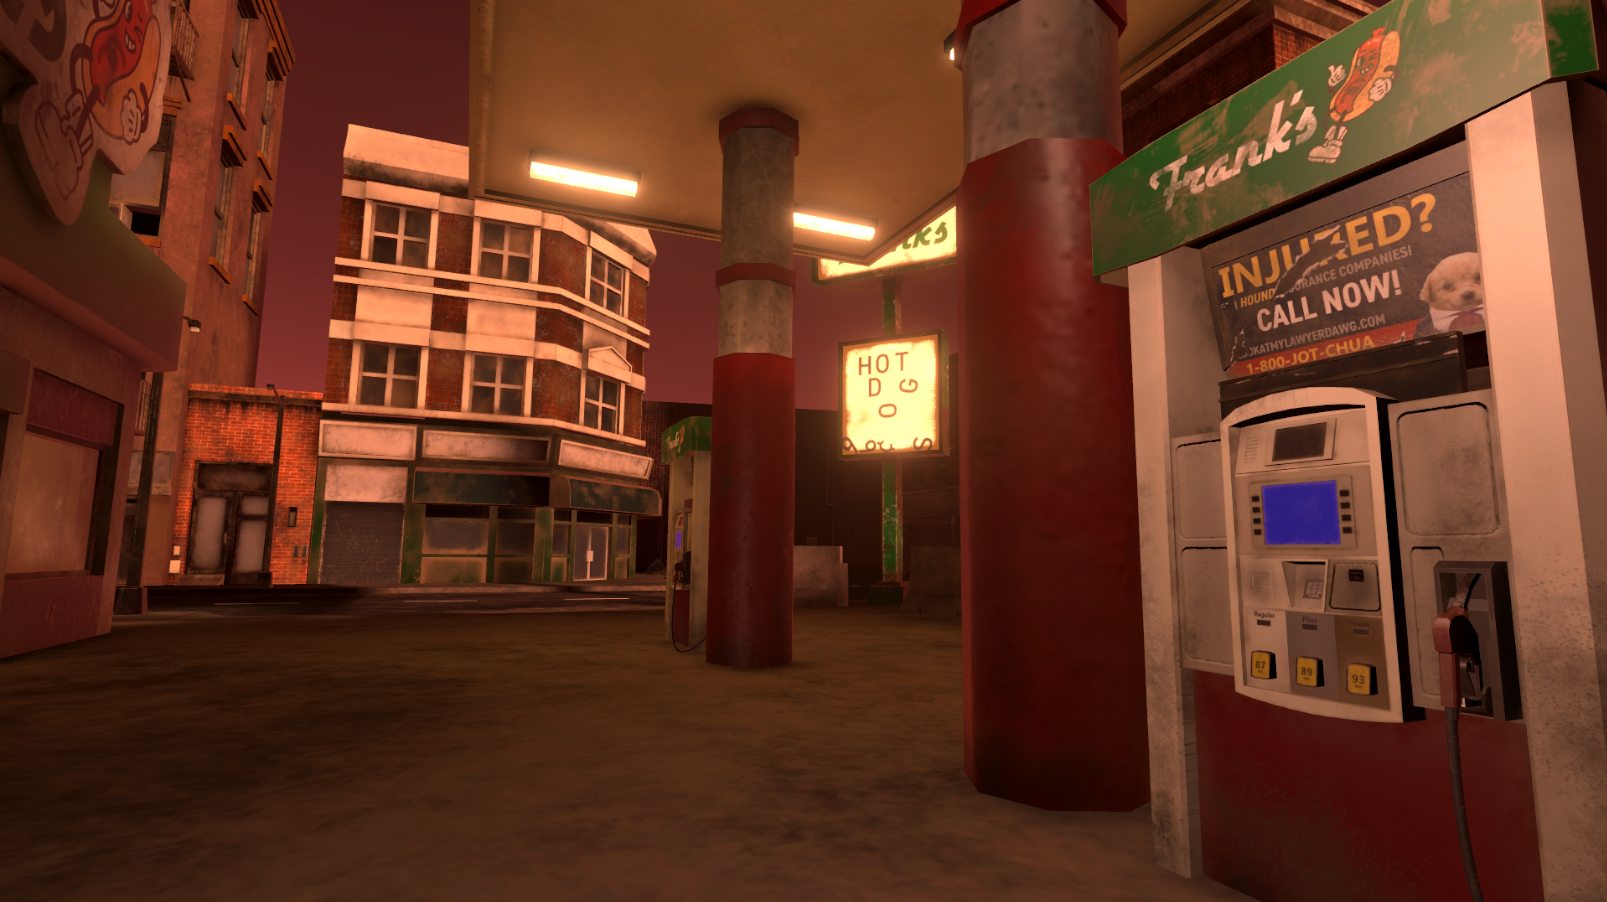
This 3D project’s goal was to develop a game environment from scratch that would include, lit indoor & outdoor areas, a textured character, real time shadows, and visual effects. For this project, I designed a character and an interior, exterior, and stage environment within a semester. I created a world for my character, and with it’s lore in mind, worked with Unity, Maya, ZBrush, and Substance Painter to realize my designs and possible game mechanics revolving around light. Within Unity, I worked with shader graphs, post-processing, sky boxes, lighting, and the render pipeline to compile and compose the final game environment. Overall this was an amazing opportunity for me to experience a full workflow and get practice on all of the programs involved in the process.
You can see my process and some of my awesome still shots from the game below!
A short walkthrough of my game environment
Process
This project was an opportunity for me to explore and practice modeling and texturing in a more realistic style. I wanted to create a post-apocalyptic world, and I also wanted to model a gas station. This project’s main focus was on lighting and texturing, so with that in mind I found myself revolving around the retro plastic gas station signs that are lit up from behind via a light box. With those ideas combined, one thing led to another and I decided to make the exterior environment a corner gas station with its adjacent streets. The interior would be the gas station itself, and the stage would start off as a standalone environment — my character standing outside the map next to objects that related to his character. What resulted was a post-apocalyptic city scene with a character whose purpose was to serve ultimately as an NPC for travelling players to buy tools from. Eventually this idea would be changed to the stage being an alleyway where my character would start from, and move out into the street and eventually toward the gas station.
Unity Graybox
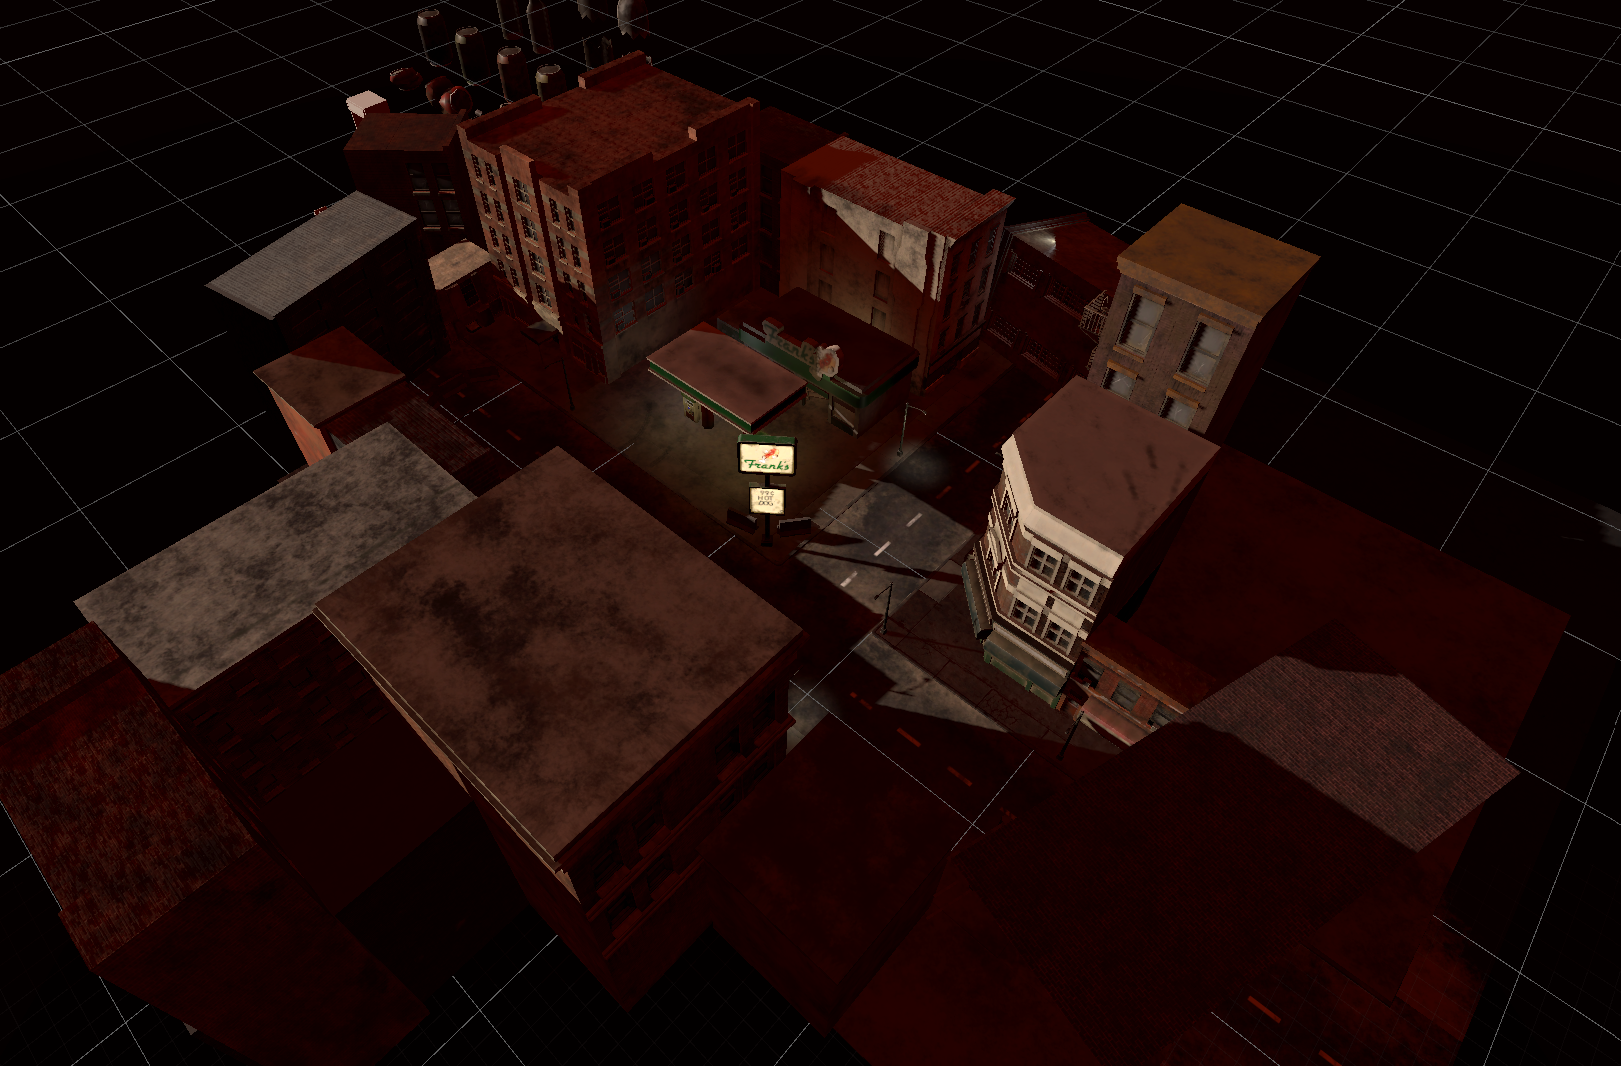
For proper scaling, my initial blocking out of my environment started in Unity using ProBuilder. I started with the corner gas station, and slowly built outwards. At this stage, I was unsure on how to confine the character to just this area without the player seeing the edge of the world.
Maya Process
After bringing my gray box into Maya, I redid the buildings according to scale with more detail. I then blocked out the materials for future texturing on all of the models. As I worked on this, I thought about how the streetlights could be used as a lighting and guiding mechanic for the player to navigate through the environment.
I brought all of my textures back into Unity and connected them to the corresponding models and materials. The emissive textures I made needed more detailed attention and a separate material to make them glow.
My character's name is Russett, he’s one of the if not the only remaining residents of this abandoned town. I tried to make him rugged looking, and make his stage related to why he still lingers around the environment. I came to the design conclusion that he is a crafty survivalist with no reason to leave — no connections to leave the town for. I tried to portray that in his design. I even gave him small tinkerer hands haha.
This is my initial design sketch for the exterior space (seen on the left). The bottom right are my thumbnail sketches and layout for the interior of the gas station). I wanted the environment to show signs of the wear and tear of time passing.
This is another shot of my gray box, with my first sky box test. I was going for a dusky and dusty-windblown-town look. I had to play around with the angle of the shadows in order to bring focus to the gas station as the interest point of the environment.
In the same project, I also worked on several items that would become prefabs within the final Unity Project. In addition to the garbage/clutter items, I worked on the interior objects for the gas station as well. I experimented with Maya’s deformation tools and simulation features for shattering solid objects.
Substance Painter
The first three models I textured were the main sign, the standing sign, and the gas pump for the gas station. I had a blast designing the mascot and company for the gas station. A lot of time was spent going back and forth between Photoshop and Substance Painter. I would create my graphics and my text in Photoshop, and then project it onto the models. In addition to this, I started creating my own height maps in Photoshop, this can be seen in the square panels in the gas pump image. I started off with these models first in order to create a consistent color palette and wear and tear pattern for the rest of the models for the gas station. The gas pump specifically took 3 full work days to complete. I felt the passion coursing through my veins as I made niche references for the ads on the gas pump. There are also so many individual parts in the object group as a whole, I spent a lot of time making sure there was no inconsistent tiling break. That object taught me the most about black and white masking, UV image projection, emissive textures, height maps, and texture resolution! I liked it so much I made two individual advertisements for each of the four total gas pumps.
Back to Unity
This is another shot of the environment, you can partly see the clutter/garbage prefabs in the back. I scaled them down and scattered them around the scene! After everything was put down, I tweaked the sky box and played with a post processing color filter until I was satisfied! If I were to return to this project I would add a dust storm particle system to run through the map for more visual movement!
Character Process
Substance Painter
After heartbreakingly reducing (decimating) the polycount on the mesh, an UVing the model in ZBrush, I exported the model into Substance Painter to texture. I found that the hardest part of texturing Russett was his face, hair, and skin. I hand painted those elements. The best way I can describe the process was, as if I was putting make up on him. I spent a lot of time adding eyeshadow and eye liner to his face, and blush and tint to his lip and cheeks. Even putting the wound on his forehead felt like a special effect! The hair texture was created with several layers of different colors and varying strokes of a multi-lined brush. I made sure to get some skin color in the beard area as well to create the illusion of dimension. The eyes were very fun to texture, I never realized how shiny our eyes are compared to everything else on our bodies. The body hair was a little hard to figure out, I’ve never looked that closely at the pattern our hair grows on our arms. I think overall it was very successful!
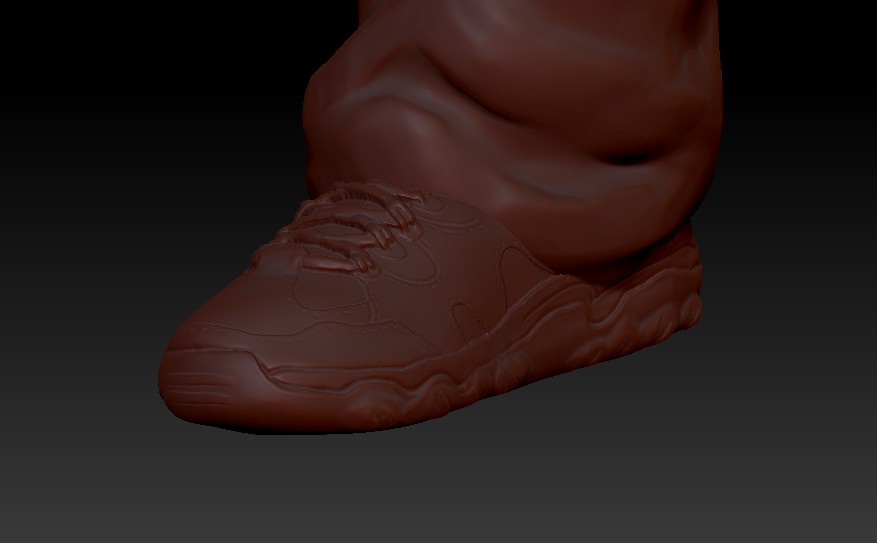
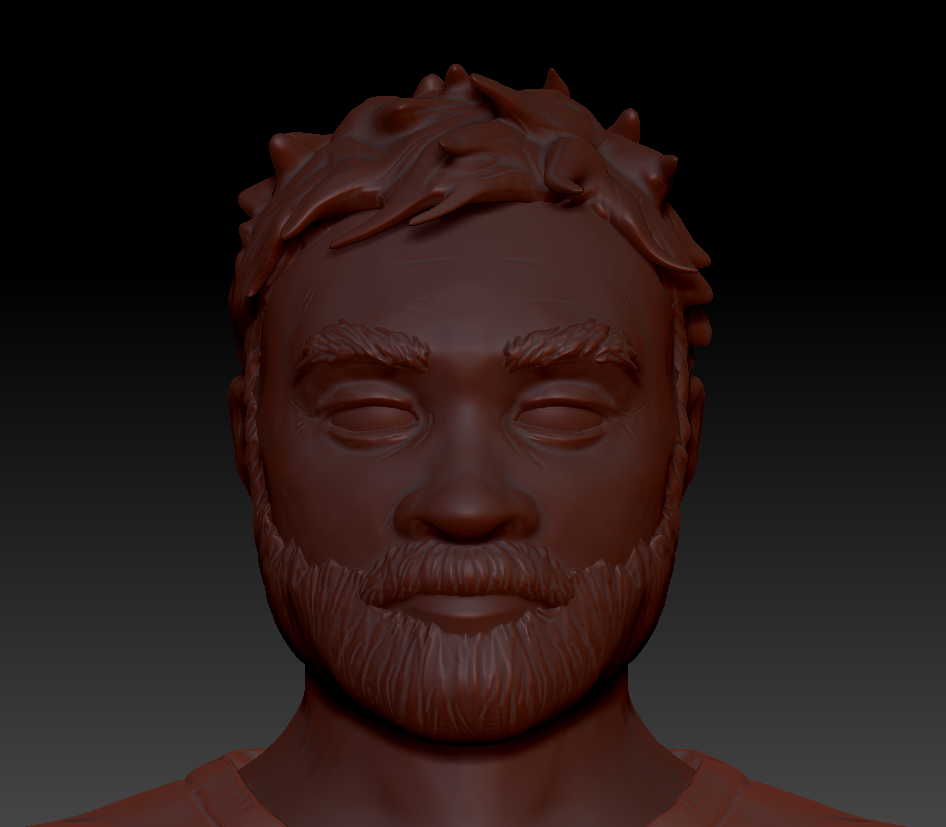
Starting with the face and using my turn around sketch, I worked my way down to sculpt Russett in ZBrush. I started off with elongating spheres and then building and removing from that base with the clay build up brush, and then refining with the trim dynamic brush, move brush, dam standard brush, and the inflate brush to fix mesh holes. I spent several hours straight many days on ZBrush, and I feel I got pretty good at developing a workflow! I found myself focusing a lot on trying to get every angle consistent with the turn around reference I drew, as the angles would change each time I made a sizeable edit on one view. I had a handful of times where using a mask pen brush helped a lot as I would create an outer shell using it — which was used to make the shirt, beard, eyebrows, and many layers of the shoe! I then polished the edges using trim dynamic and dam standard to reinforce the lines. I used dam standard for wrinkles, hair texture, and stitches! I also used the snake hook brush to make the hair for the model, and further refined with with the clay build up brush and dam standard brush. I was often smoothing out the mesh and refreshing it’s dynamic mesh resolution appearance in between strokes for everything.
I wanted to practice drawing more realistically in a semi-realistic sense, and draw a different age group and body type for this project, because I would also get more practice on modeling him as well — especially because of the facial hair and features.
ZBrush
Makeup tutorials really saved me here, it is very apparent how uncanny Russett looks without proper painting and attention to facial features like the eye’s shadow, and lashes — and the hair without its dimensional texture of course.
Having textured all of the objects for the scene at this point, I knew that I needed to keep the wear and tear on his clothes consistent with the environment. However, I didn’t take into account how much different it is to texture a human compared to an environmental object. I found myself spending a lot of time trying to get the fibers of the clothing accurate to real life. I’m quite proud of the jeans and shoes in particular. I feel the seams and dimension of the jeans is very realistic, and the shoes material and likeliness to the typical outdoorsy dad hiking shoe is accurate! Adding the wear and tear was a nice touch, and one of the easier parts of the process.
